There are two versions of this library.
This one uses clipping rectangles.
The other version uses
clipping div elements.
Browser support for clipping rectangles is shakey and the Javascript
code is a bit messy so I prefer the other version myself. Both versions have been
tested on Firefox 2, Internet Explorer 7, Opera 9.5, and Safari 3.1 for Windows and MacOS X.
Original code from here. It's been pretty much completely rewritten to use current approved methods for capturing mouse events, support multiple images, anywhere on the page, with non-square individually-sized magnifiers.
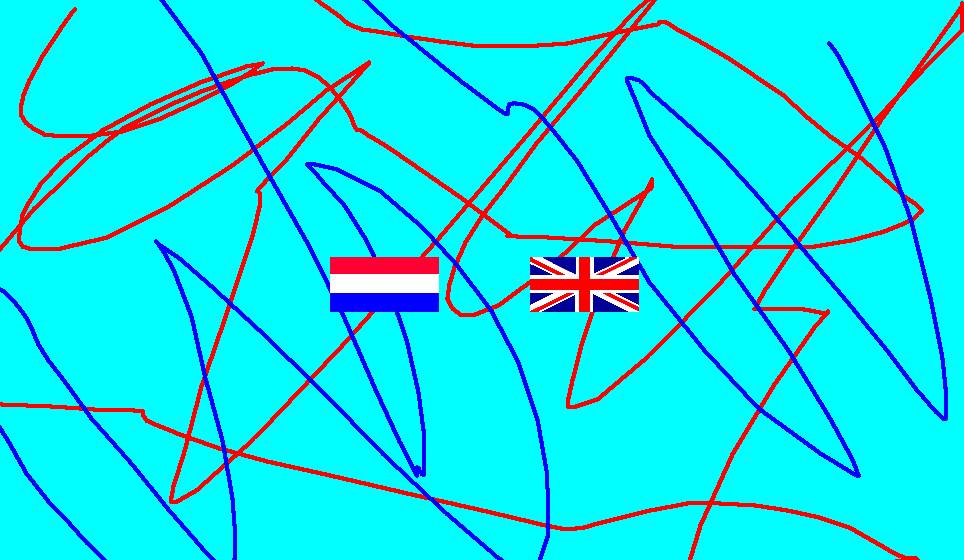
Move the mouse over the images below to see the magnifiers in action. Note that the right magnifier is smaller than the left magnifier.
|
|
|
magnifier.js and magnifier.css to the same
place as your HTML file.head of your HTML file:
<link type="text/css" href="magnifier.css" rel="stylesheet">

<script type="text/javascript" src="magnifier.js"></script>
div like this:
where lw and lh are the width and height of the large (magnified) image, and sw and sh are the width and height of the smaller image that should appear on the page.<div class="magnifier" style="width: swpx; height: shpx;"> <img src="image-file" class="maglarge" style="width: lwpx; height: lhpx;"> </div>
div should be roughly half the size of the
large image.div should have the same proportions as the large image.You can magnify as many images as you want, as long
as they are in different magnifier div's, with the required class
magnifier on the div and maglarge
on the IMG.
Problems? Check here.
By default, the Javascript creates the reduced image to display.
If you want to use a customized small image instead,
put the IMG element for it
in the div, with the class magsmall,
ahead of the large image, like this. Note that the
div and the magsmall image should
have the same size.
<div class="magnifier" style="width: swpx; height: shpx;">
<img src="image-file" class="magsmall"
style="width: swpx; height: shpx;">
<img src="image-file" class="maglarge"
style="width: lwpx; height: lhpx;">
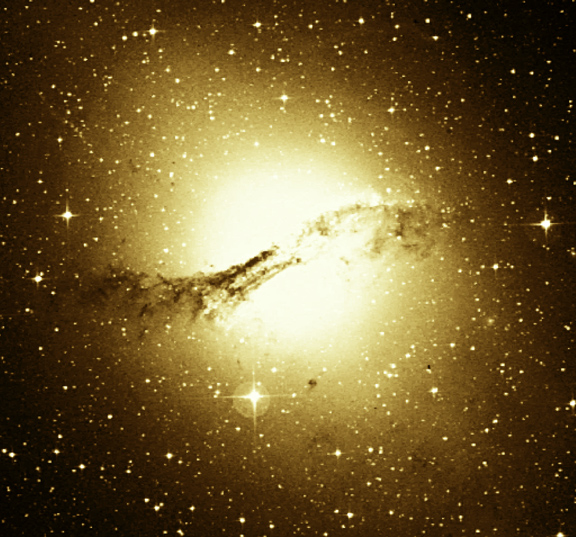
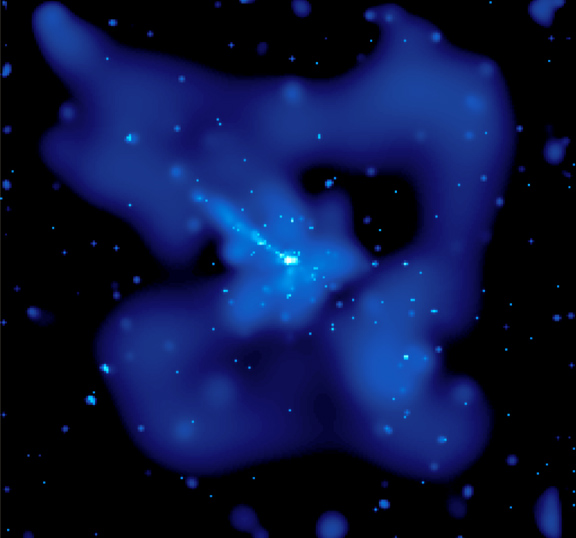
</div>You can also use two images of the same size to do "reveal" rather than magnification. For example, here the "magnifier" shows what a galaxy looks like in the X-ray spectrum. Images from the Chandra X-ray Observatory.
The default magnifier is 150 x 150 pixels. To get a different size,
add a clip:rect(0px, right, bottom, 0px>)
to the style of the large image. Put the desired width and height
in the right and bottom, respectively, like this:
<div class="magnifier" style="width: swpx; height: shpx;">
  <img src="image-file" class="maglarge"
     style="width: lwpx; height: lhpx; clip:rect(0px mwpx mhpx 0px)">
</div>
where mw and mh are the desired width and height of the magnifier.
To change the size of the default magnifying glass,
modify the default clip rectangle defined for maglarge
in magnifier.css:
.maglarge {
  position: absolute;
  clip: rect(0px 150px 150px 0px);
  border-style: none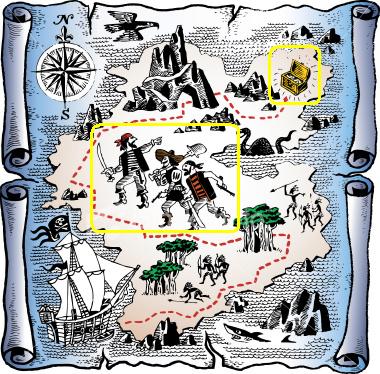
}If you want clickable regions in the image, use an HTML image map.
Put the
ISMAP and USEMAP attributes on the IMG
for the large image.
Both images on this page are image maps.
If for some reason, you can't use CSS classes, you can define magnifiers by using names, ids, and inline styles, like this:
<div id="magnifier" style="position:relative; overflow: hidden; width: swpx; height: shpx">
 <IMG src="image-file" name="large"
    style="position:absolute; width: lwpx; height: lhpx" />
</div>
The following needs to be specified:
div needs an id starting with
magnifier. Use different id's for different images.large.smalldiv's.magnifier div must have position; absolute; overflow: hidden;.position: absolute;.position: absolute; top: 0px; right 0px;.
You may also want border-style: none;.If no magnifier appears or the magnifier is distorted or off-center, check the following:
div container with class="magnifier"?class="maglarge"?class="magsmall",
is it inside the same div, and does it come before the large image?class to xclass in
class="magsmall" and class="maglarge". This will
cause all images to appear as normal. If they don't, then there is a naming
problem.div correct?px attached to them, with no intervening spaces, e.g.,
12px not 12 px?clip: rect(...)
contain any commas? If so, remove them. Internet Explorer
as of version 7 doesn't handle commas here.When the mouse is over the small image, the Javascript code creates a small view, called a clip rectangle in CSS-speak, of the same region of the large hidden image. As the mouse moves over the small image, the Javascript positions the clip region over the corresponding point in the large image, and moves the large image so that the clip region remains centered under the mouse.